Spandrel Panels at Projecting Bays: Function and Design in Masonry
This past week, we started looking at examples of projecting bays above front porches. Here on our website, in the past we’ve also looked at examples of bays that are built into front turret areas around the sides of buildings. Last week though was the first time we actually took a really detailed look at the days that are set above the front porch roofs. These locations are the sort of natural location to put a bay because it fits with a bit of structural continuity.
The porch roof, although not as significant of a structural element as the demising walls of the building, still has some capacity to support a portion of a projecting or cantilevered upper bay or extending part of a building. This applies, particularly, where that bay is stick framed. Stick framing is generally much lighter weight than the traditional masonry partitions at the majority of the remainder of the building.
In the picture below, we know that this portion of the building, the projecting bay, is a stick framed element because it’s clad with an asphaltic shingle type of material. Whenever something is clad with shingles it requires lots of nails and it’s relatively complicated to drive nails into masonry. Driving fasteners into masonry can definitely be done and is done in many cases, but when you have so many small individual shingles, in this case a three-tab type of shingle, each group of three shingles will require several fasteners. Overall, a few hundred or so fasteners might be required to install this cladding at this bay.
Putting that many fasteners into a masonry substrate is more complicated than it would be to instead build a stick framed type assembly, cover that assembly with 1x sheathing, particularly in historic conditions or times. That frame assembly is then wrapped with felt paper. Felt paper is a bit similar to roofing material, in some ways, but it’s a cellulose or fiberglass felt that has been asphalt impregnated and or coated with an asphalt to protect it from accelerated deterioration and or rot from exposure to moisture.
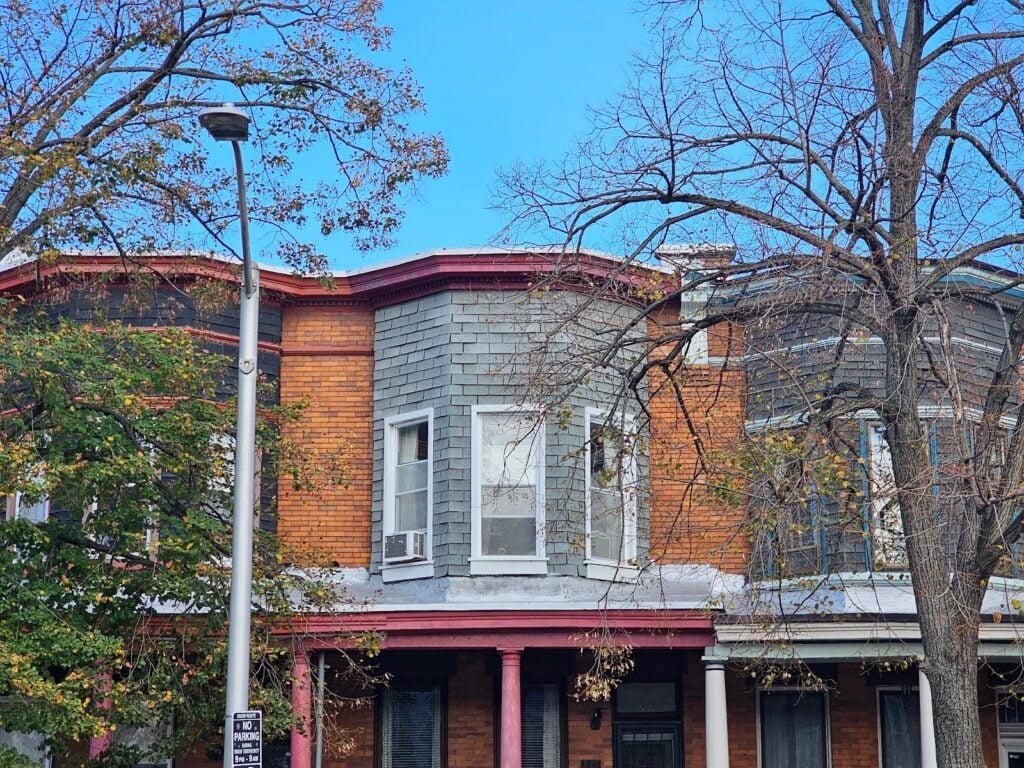
Then on top of the felt paper, which is installed in successive laps, the shingles are installed in successive laps as well. Both the paper and the successive layer of shingles are installed, starting at the bottom and working upwards. The shingles help protect the felt paper which helps protect the sheathing and the internal framing. Altogether though historic assemblies like this are nowhere near as airtight or waterproof as modern cladding systems, but they still worked well enough in historic times.
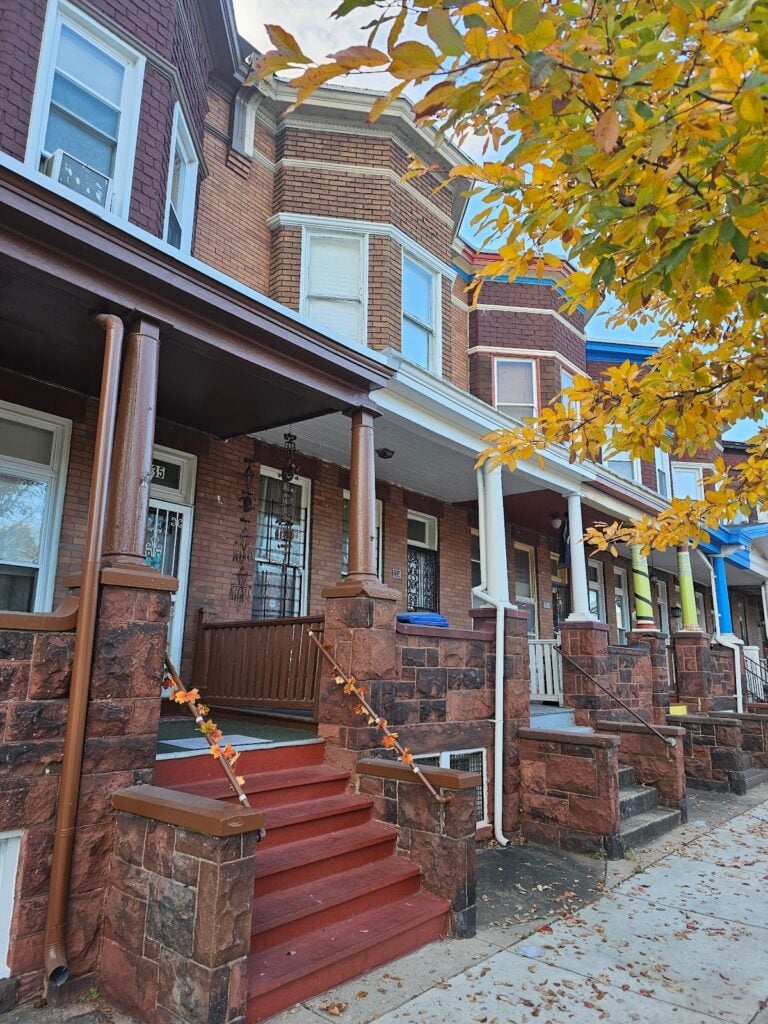
To the right hand side of the shingle clad bay, it looks like the next bay to the right is built with brick. It looks like that brick is similar to the remainder of the adjacent brick of the building. It’s actually an illusion though. That shingle material, that’s installed on top of the bay to the right of the red bay, is also another shingle installation. The ceramic granules on top of those shingles though look a little bit more similar to the color of the brick and you can kind of only really tell for certain that it’s the shingle and not a brick when you get close enough to see it clearly. It’s good fake, essentially.
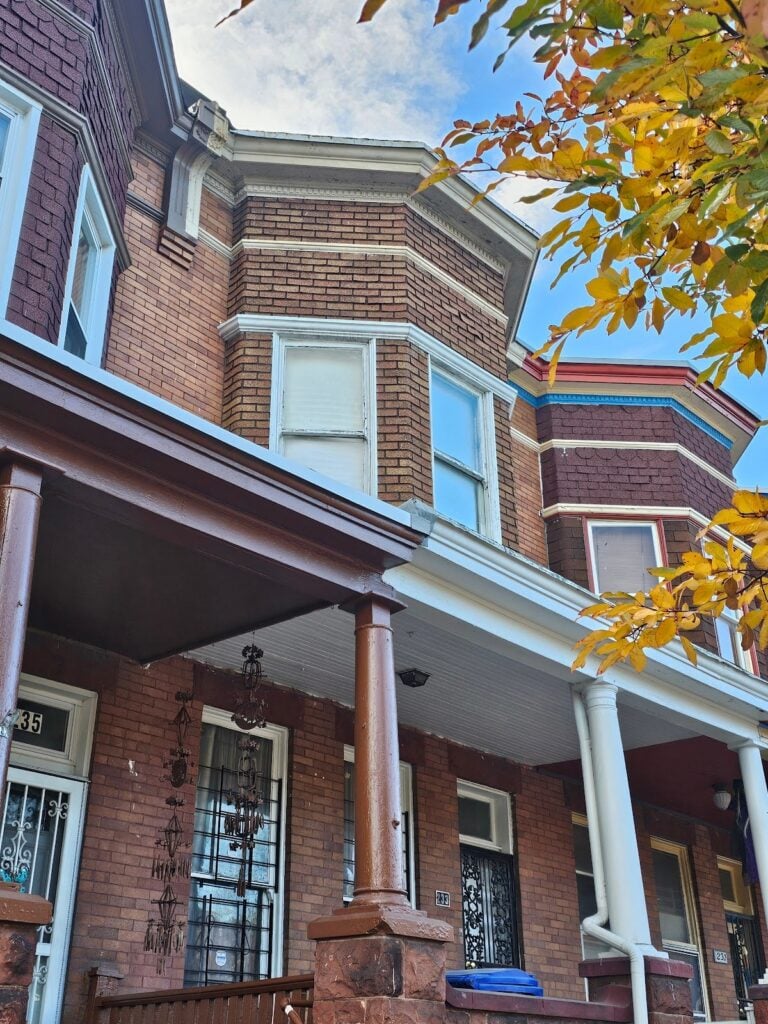
The next bay, shown below, is built in a similar way, from a structural perspective, but it has a totally different type of cladding. Instead, this particular installation is clad with a wood type of material and the millwork used is much more refined than the designs of the shingle clad base here. For example, the upper portion here is a decorative crown, with a dental fascia board around the perimeter at the top of the wall. Below that, there is a panel with a decorative festoon and a spandrel panel, trimmed with millwork below the festoon.
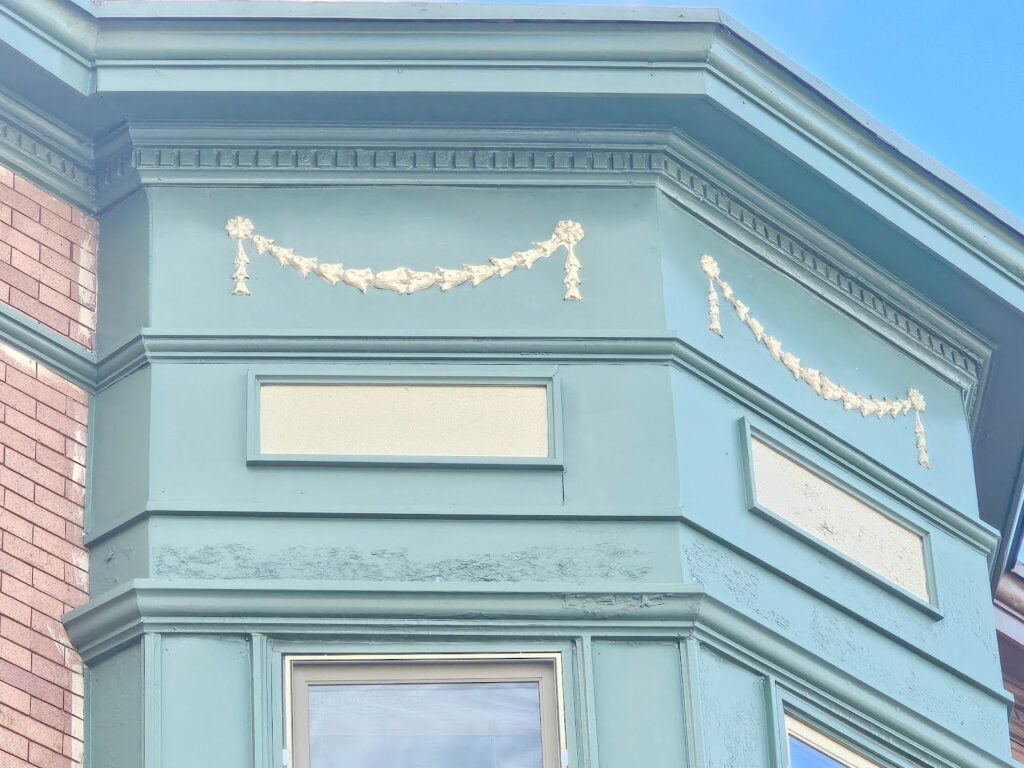
Generally, in historic architecture, elements like this particular decorative embellishment were made from cast plaster, concrete, or even in some cases carved from stone in a relief. Here, in this case though, we believe that this element is part of a pressed tin panel.
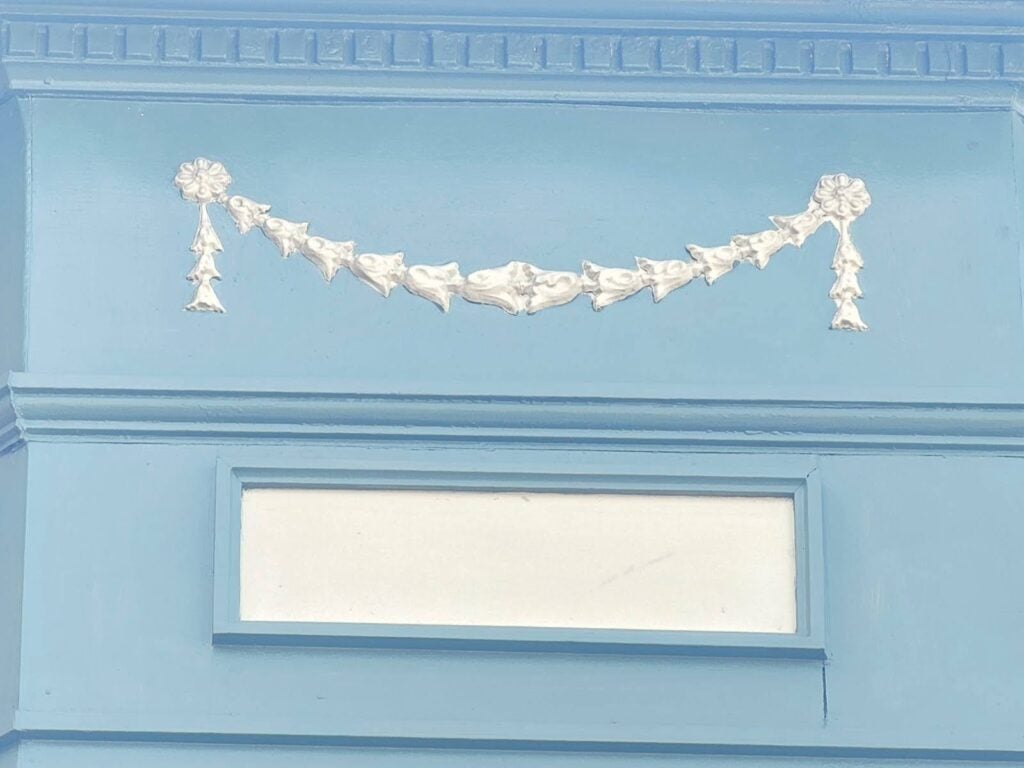
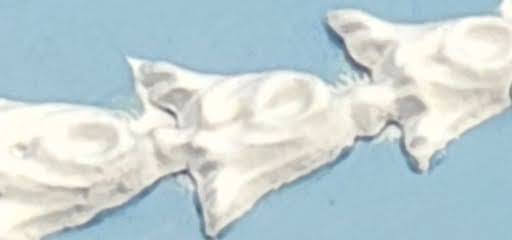
A close-up view of a section of this secorative element follows below.
Above, towards the top of this article, we discussed some of the bays at the sides of buildings which are more often built with masonry partitions / walls because they have a structural load path that runs all the way from a below grade footing, up through the entirety of the bay. An example of one of these side bays follows below. You may notice that this particular bay, in contrast to the others shown above, is built with a eased radius instead of rectilinear segmented portions.
We can Help
Our company focuses on historic restoration more than modern building upkeep, maintenance, and construction, but our company understands both types of construction very well and a full picture well-rounded approach is needed in any niche in the construction industry. Although we focus on historic restoration, repointing, tuckpointing and historic brick repair, our company also has technical knowledge and competencies in the areas of modern and contemporary construction as well as we become one of the leaders in that area of the market today. Understanding both historic and modern or contemporary construction is useful because both aspects help understand the challenges and potential solutions for challenges in building science and construction.
We can help with a variety of historic masonry restoration needs and upkeep, from modest tuckpointing and or repointing to complicated and extensive historic masonry restoration. Infinity Design Solutions is a historic restoration specialist contractor specializing in both historic masonry restoration such as tuckpointing our repointing, and brick repair. If you have questions about the architectural details or facade of your historic building in Washington DC, reach out and say hello and if we can help we’ll be glad to assist you. You can email us or call us on the telephone at the following link: contact us here.
